Contact support
Here's how to add more users to your SendOwl account.
Table of Contents:
Introduction
Here are some reasons you might like to add more users to your SendOwl account:
"I want to give my colleague access to create products in my SendOwl account."
"I want to give my accountant access to view order details and reports, but nothing else."
Adding a new user
SendOwl doesn't charge you for adding users to your account - your subscription fee remains the same.
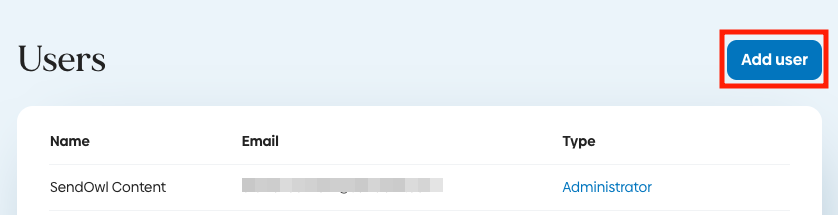
Step 1. Head to your SendOwl Settings page. Then click Users.
Here's a direct link: https://dashboard.sendowl.com/settings/users
Step 2. Click the Add user button:
Step 3. Add the user's name. Then add the email address they'll use to log into your account:
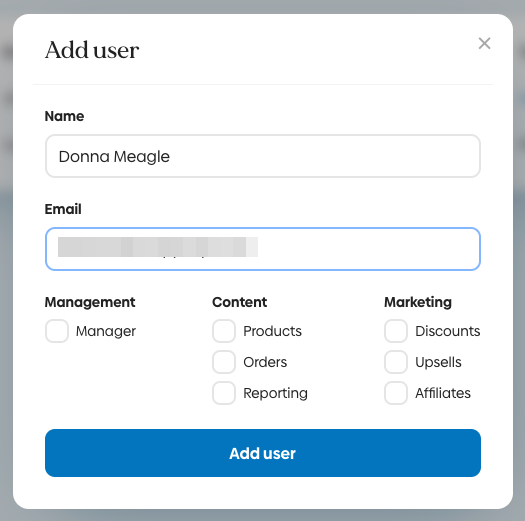
User permissions
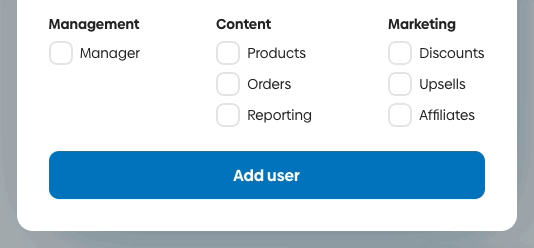
Step 4. Decide how much access you want this user to have.
You can click the checkboxes for individual functions if you want to keep things restricted.
If you want this user to access everything in your account, click the Manager box.
Step 5. Click Add user:
What the new user sees
SendOwl will email the new user at the email address you entered.
The email contains temporary login details and a link to SendOwl's login page:

All the user needs to do is follow the link and log in. We'll prompt them to update their password.
When they're logged in, the user will see only the areas of SendOwl you've granted access to:

Every user you add will have access to the Settings page, but the options available on it will depend on the permissions you've set:

Removing a user
You can revoke a user's access at any time.
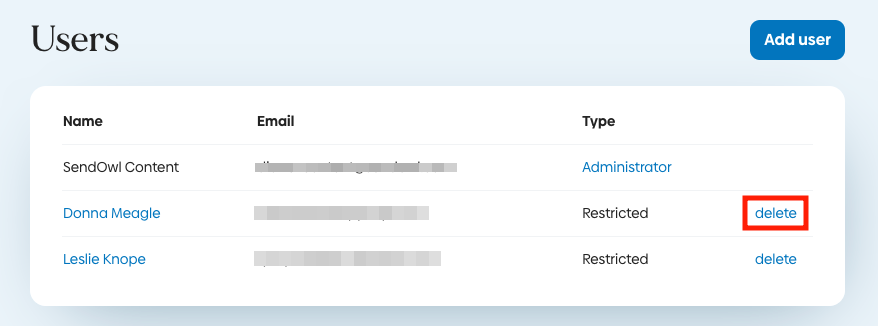
Step 1. Head back to the Settings page and click Users.
Step 2. You'll see a list of all current users and their access. Click the Delete link to remove a user: